Powah! + XNet Automatization
I like Powah! mod, it is simple enough to be fun and not grindy. I decided to automatizate this Energizing Orb block from Powah! with Refined Storage, but I quickly realized it will not be as simple as I tought. So I found out there is a mod called XNet in the modpack, so I started using it. Here is the tutorial how to automate the Energizing Orb from Powah! with XNet.
You will need
- Power (RF / FE)
- Cables from Powah! - for energy distrubution
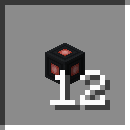
- Energizing Rod (any type) from Powah!
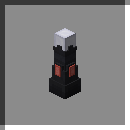
- Energizing Orb
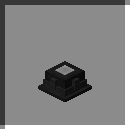
- Controller from XNet
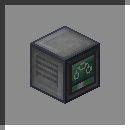
- Advanced cables from XNet - you can use any colour
The Channels
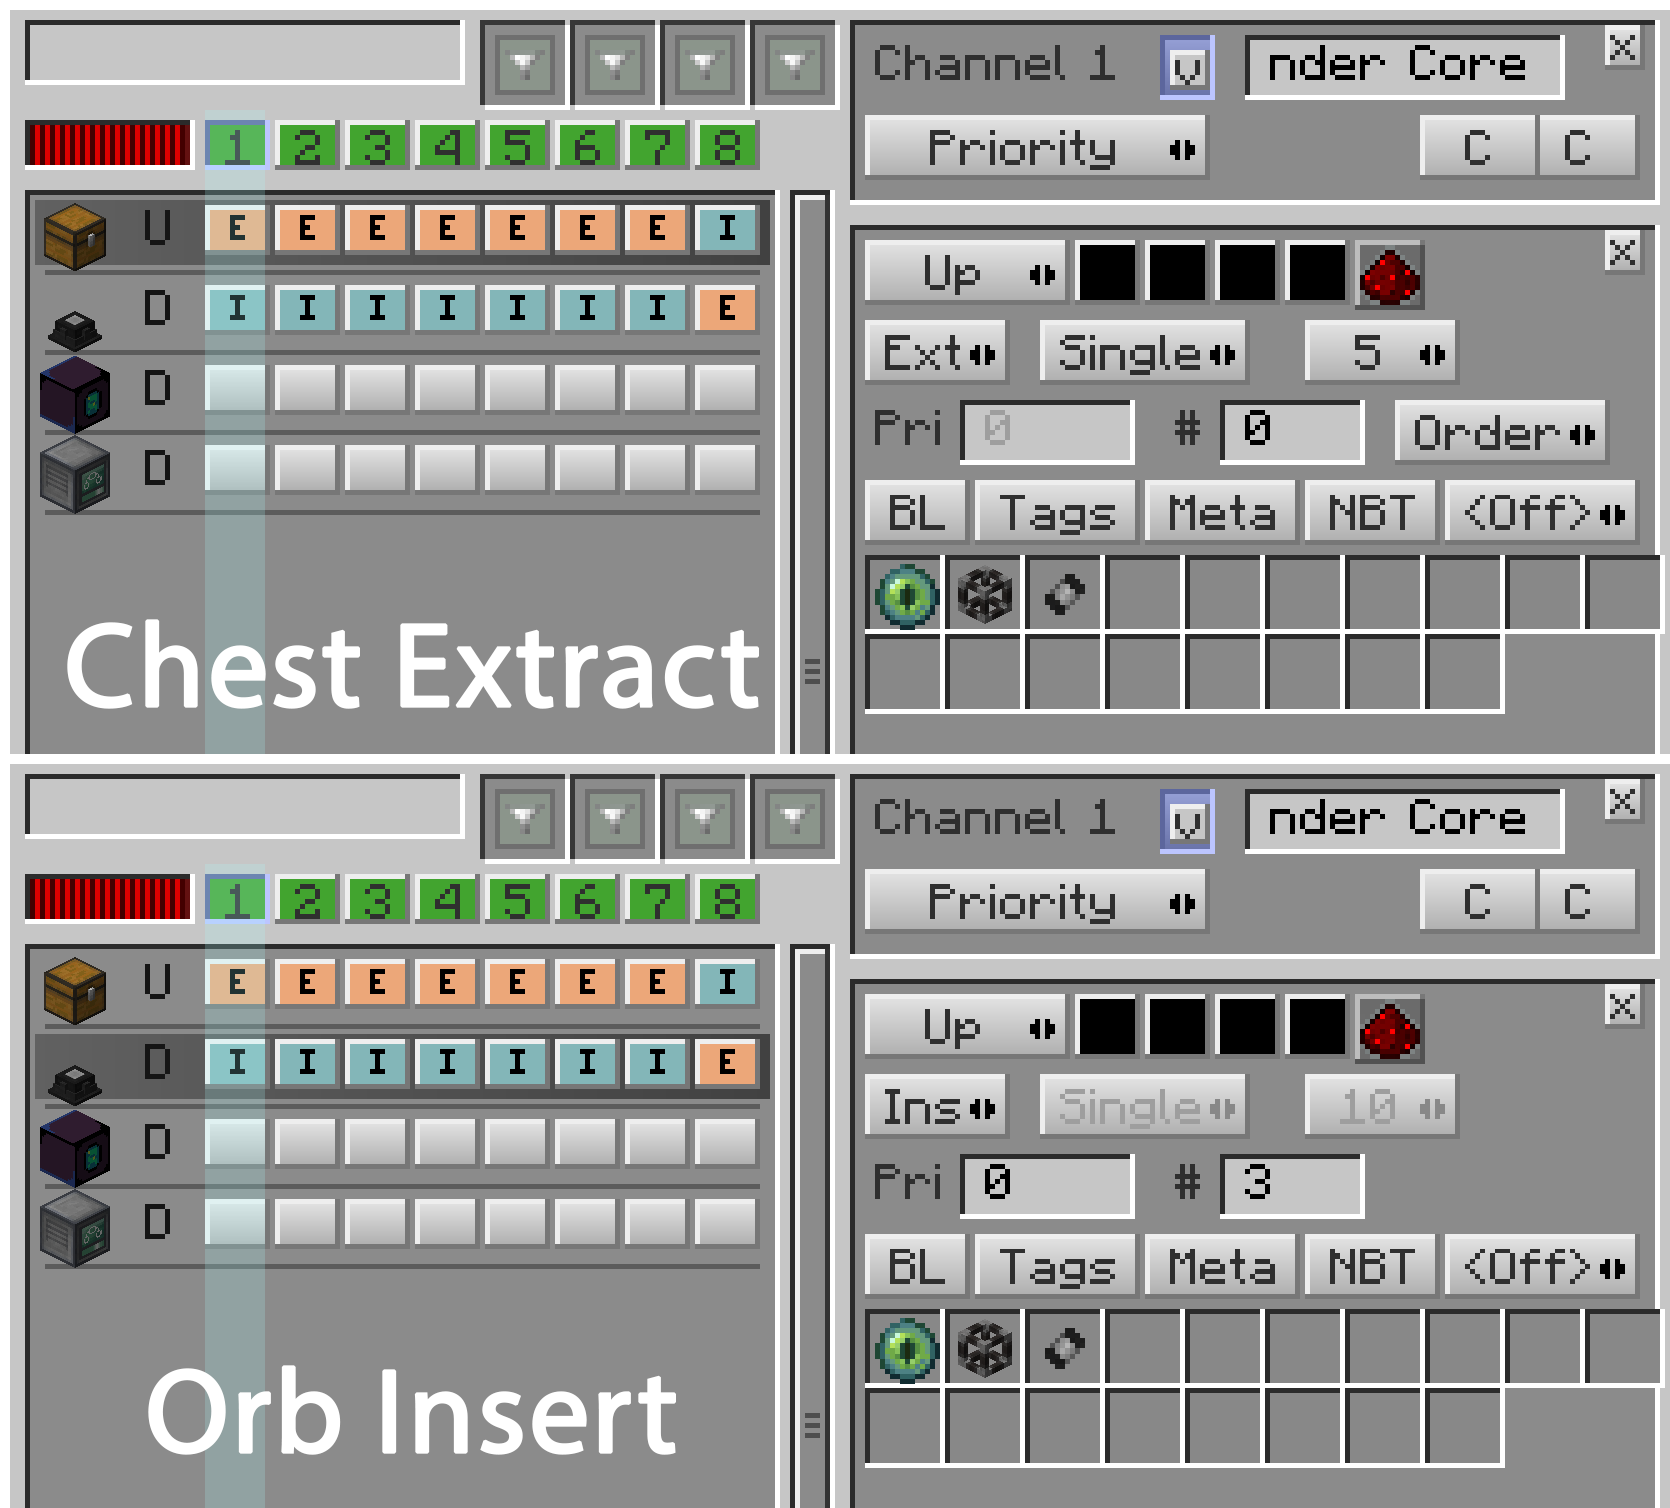
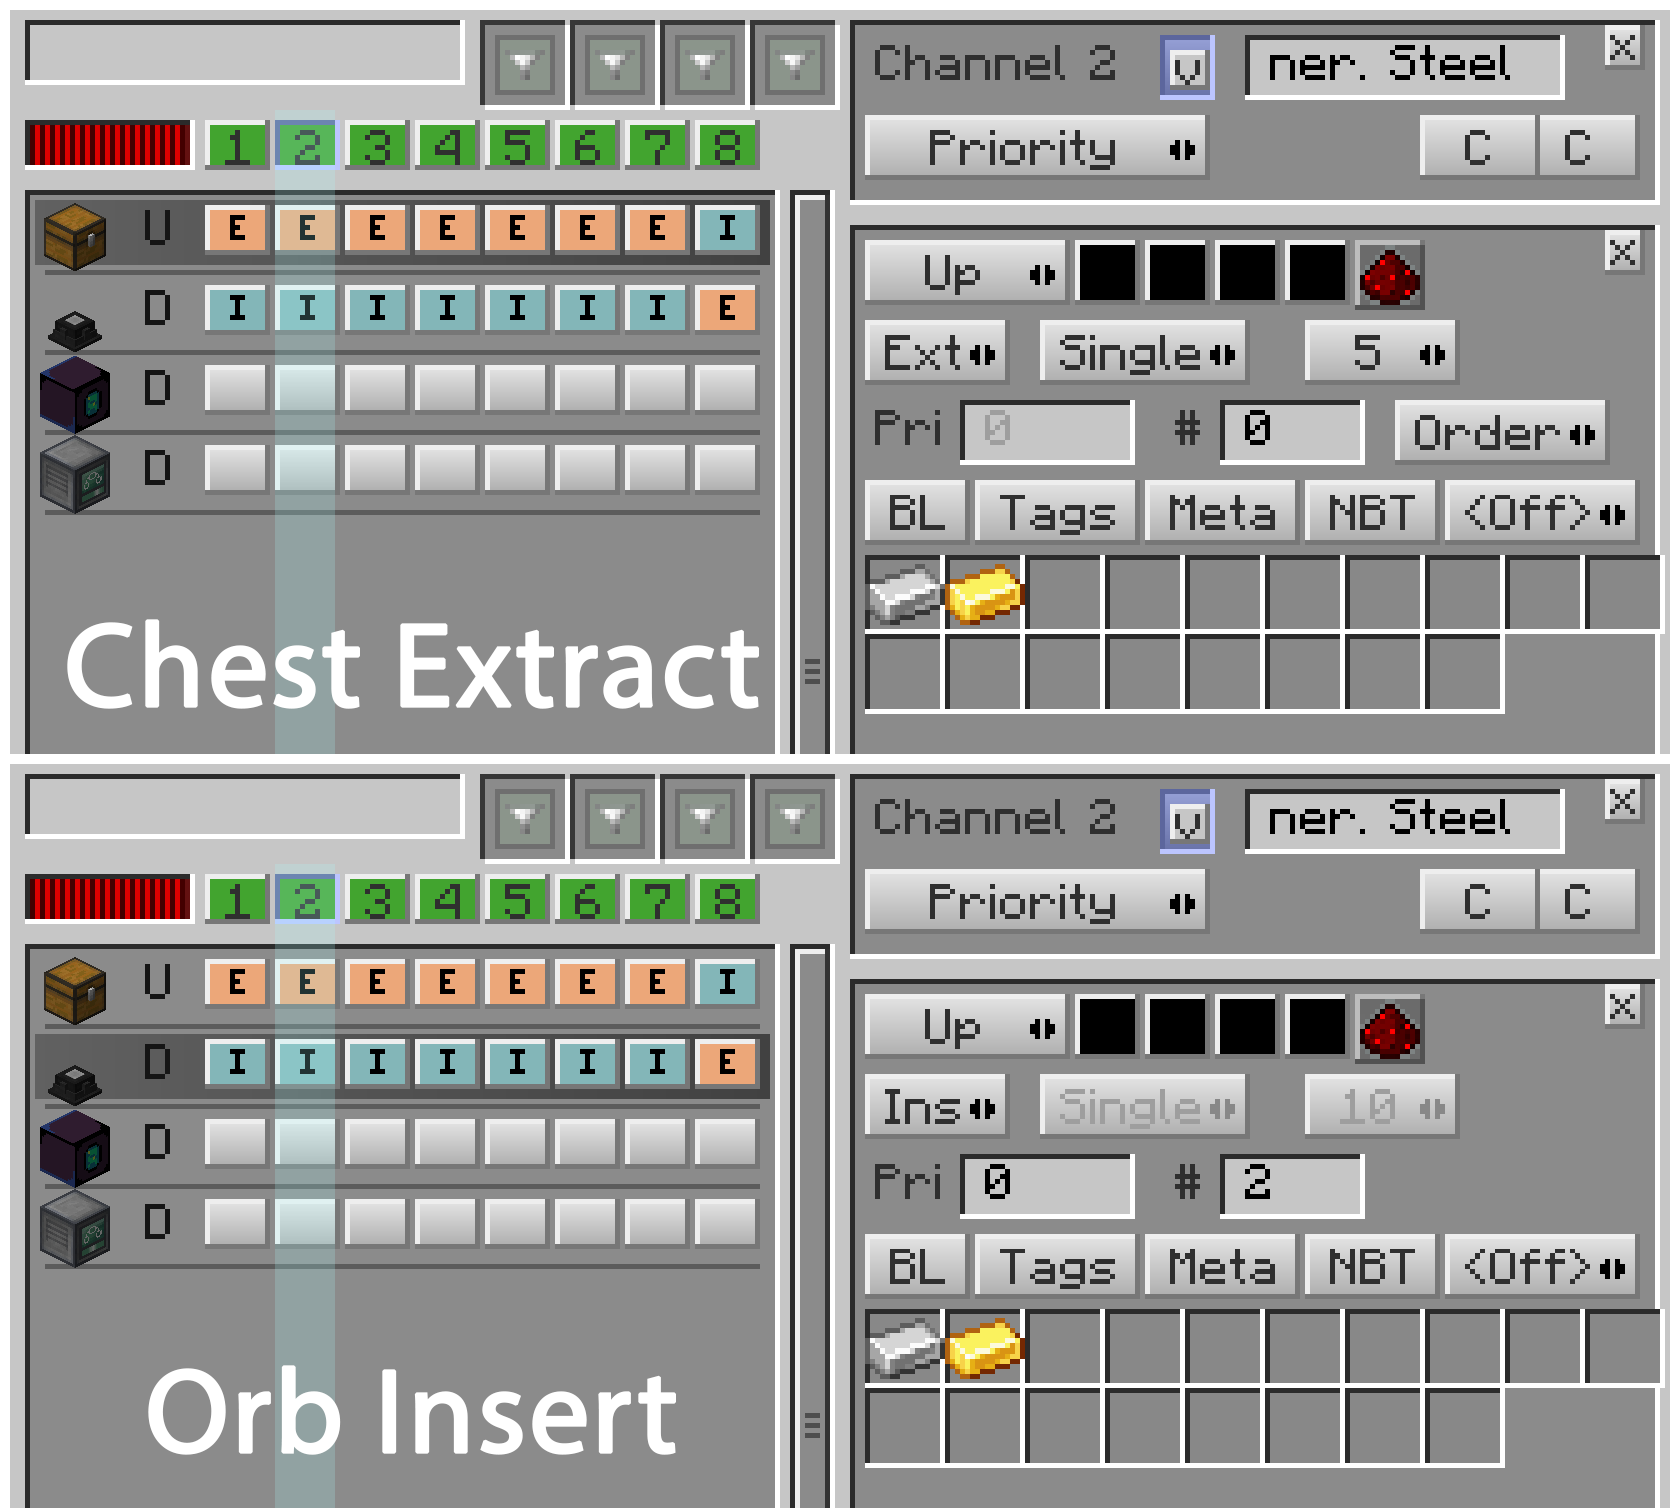
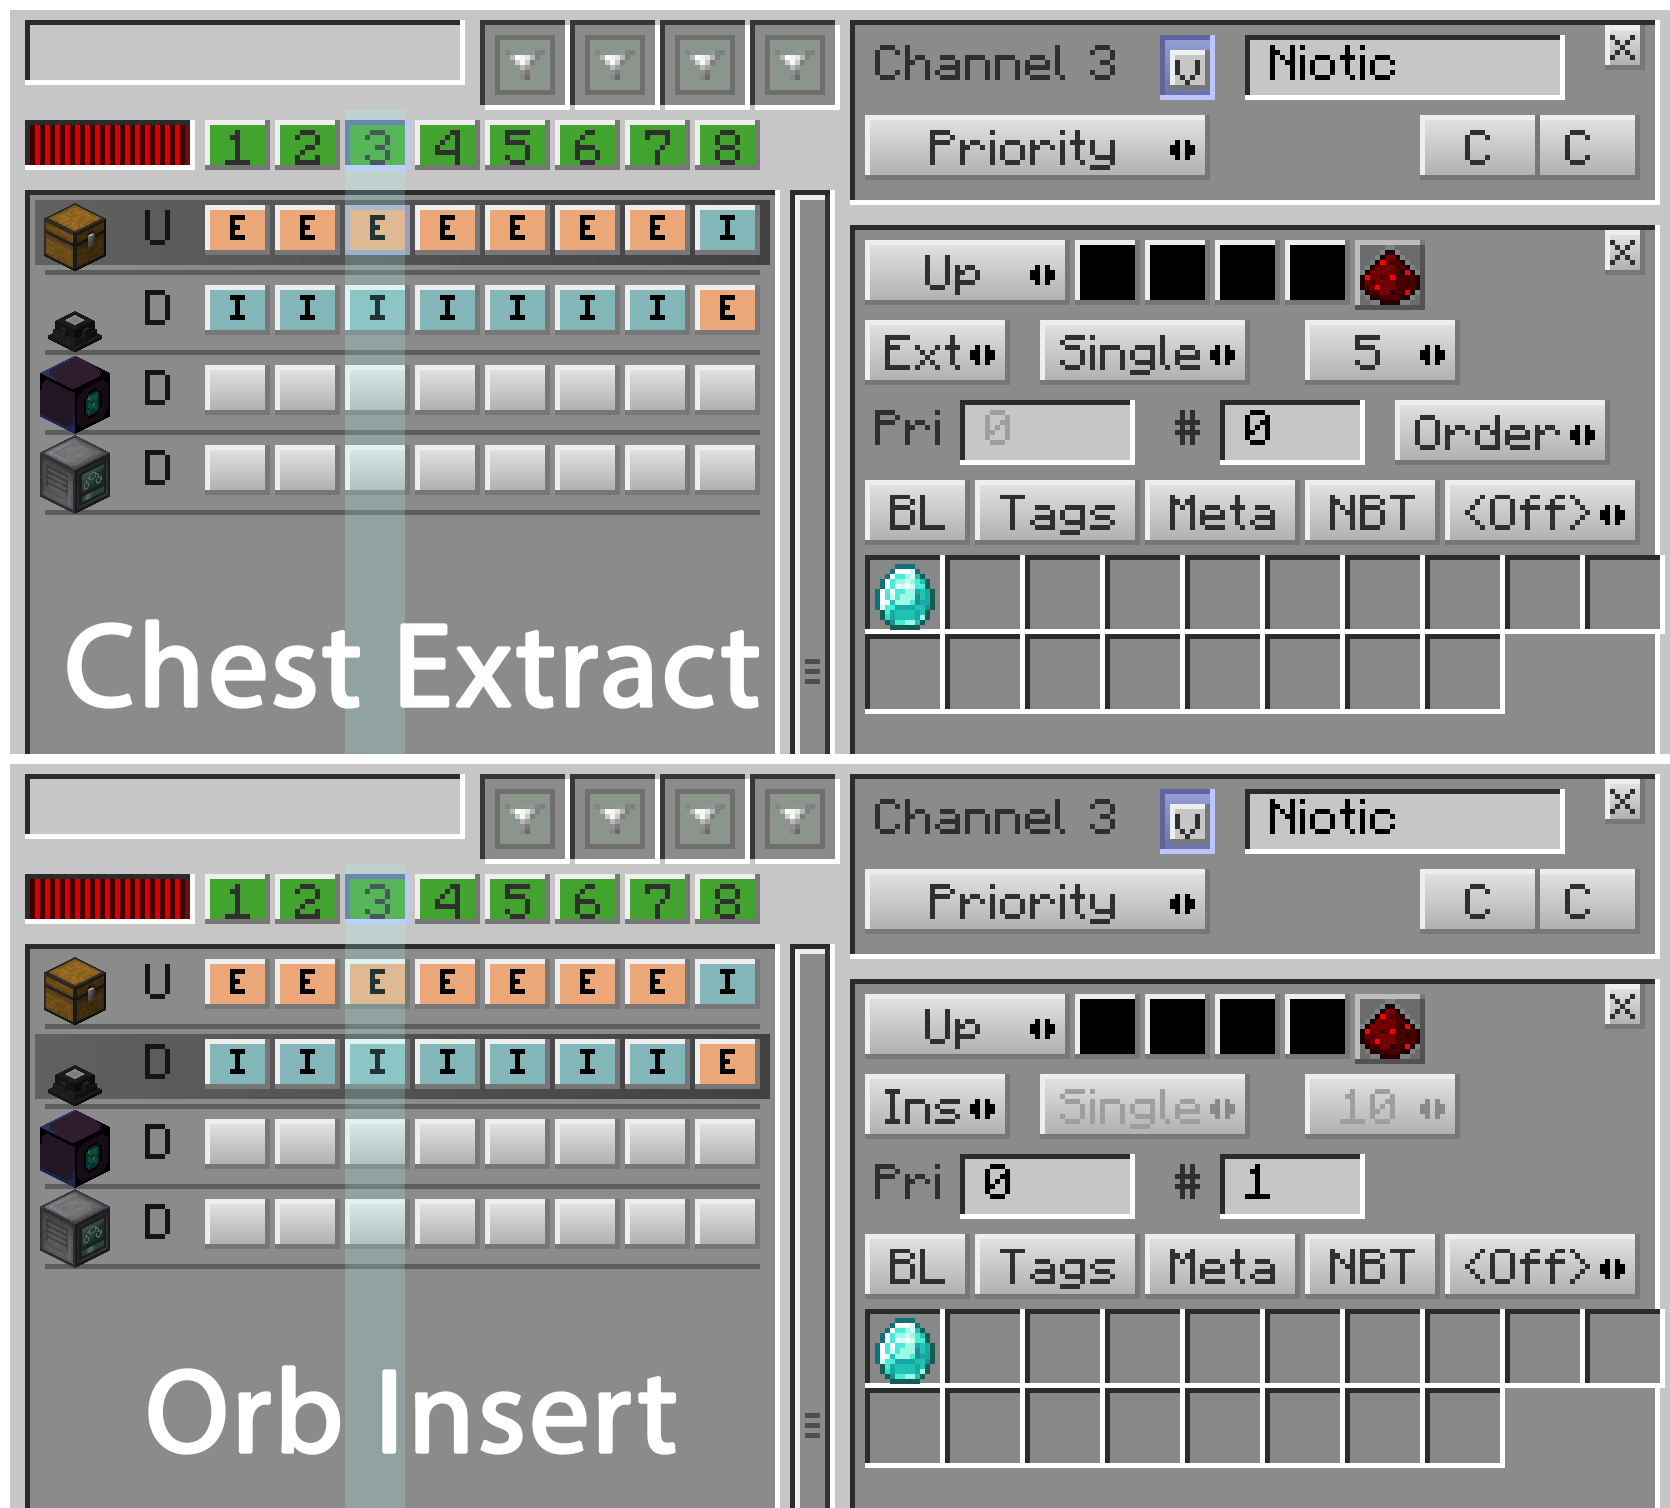
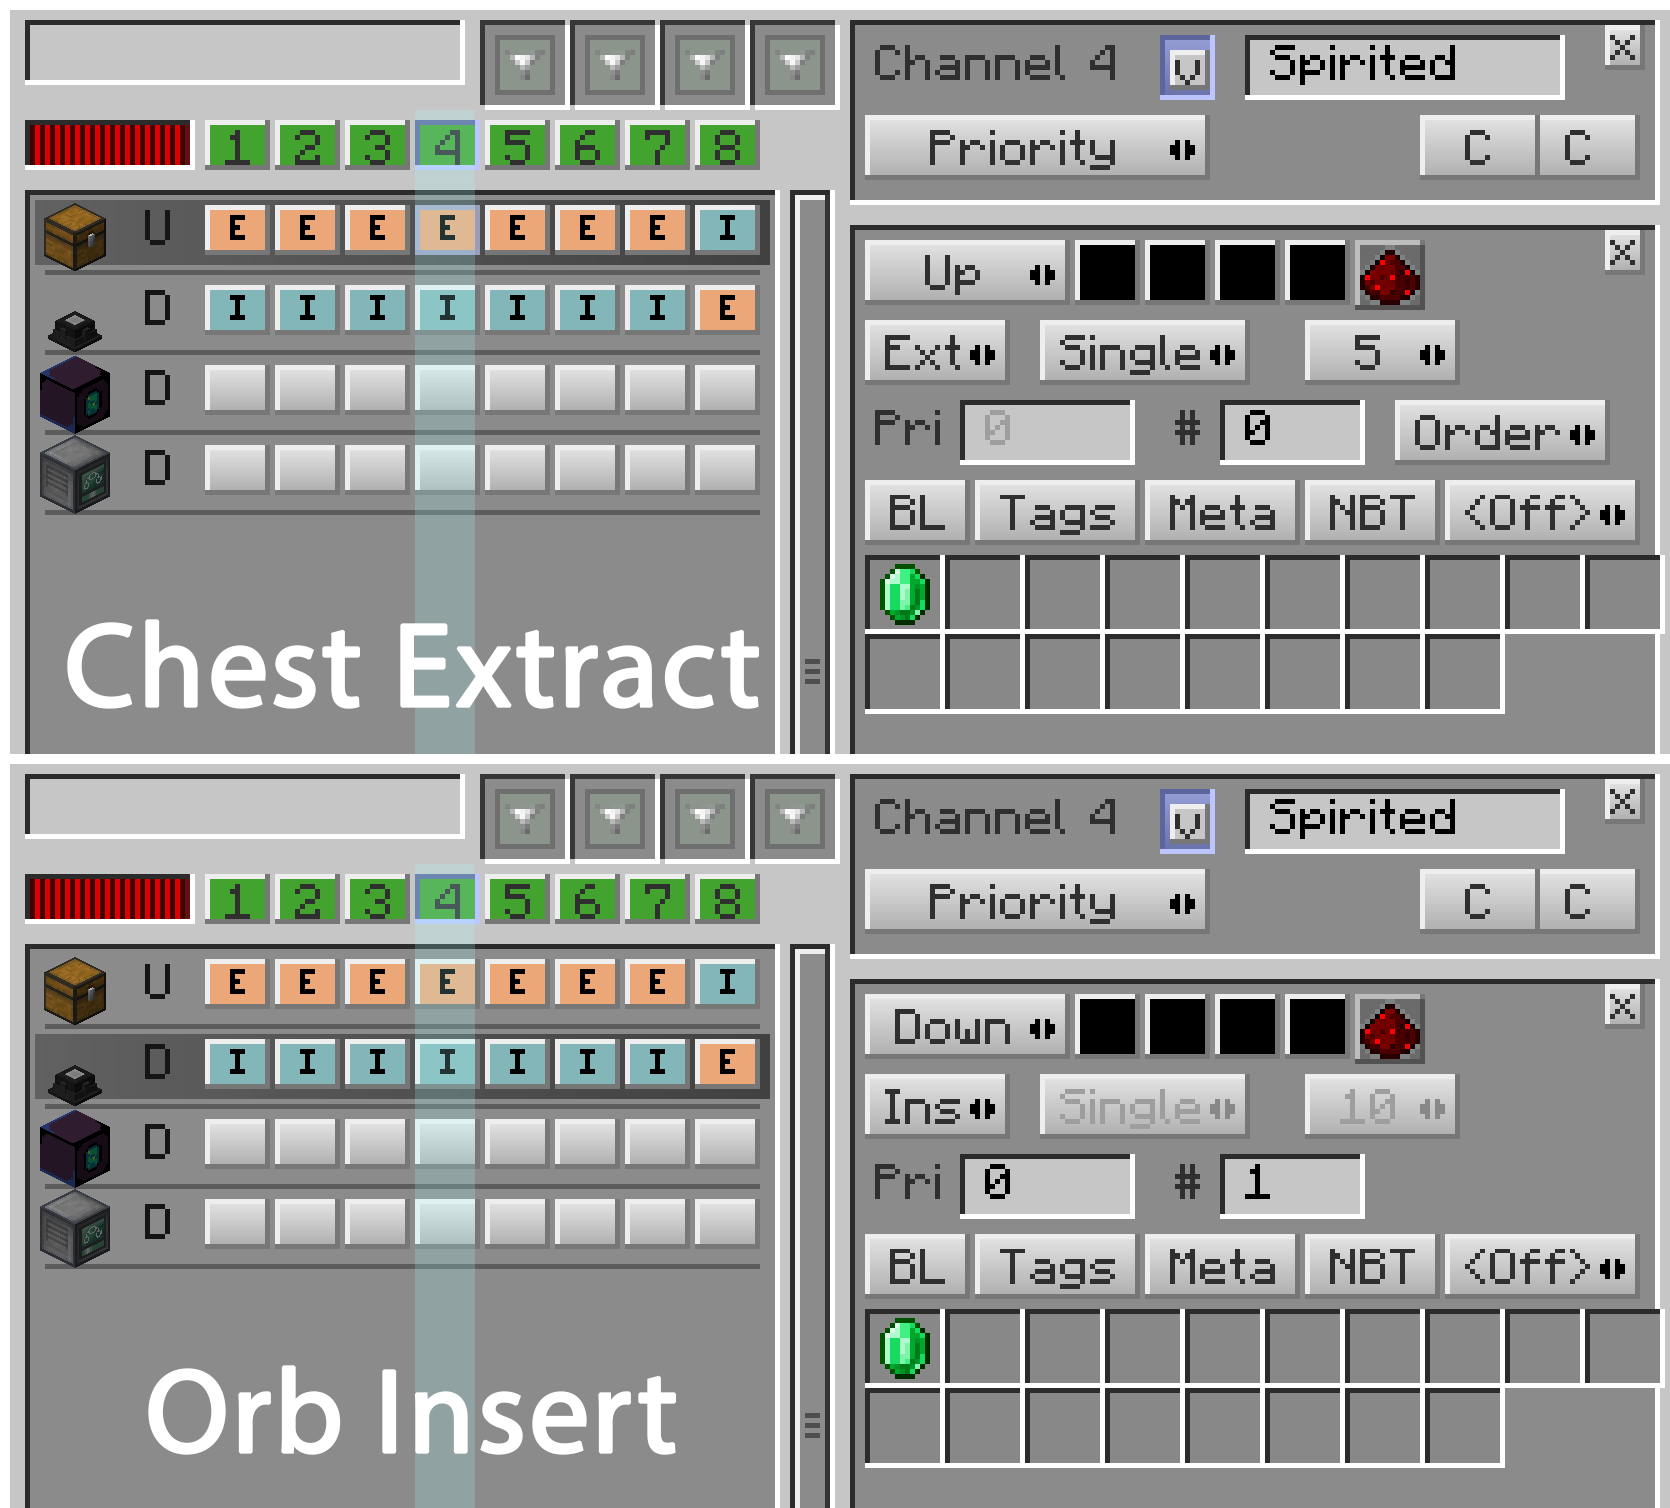
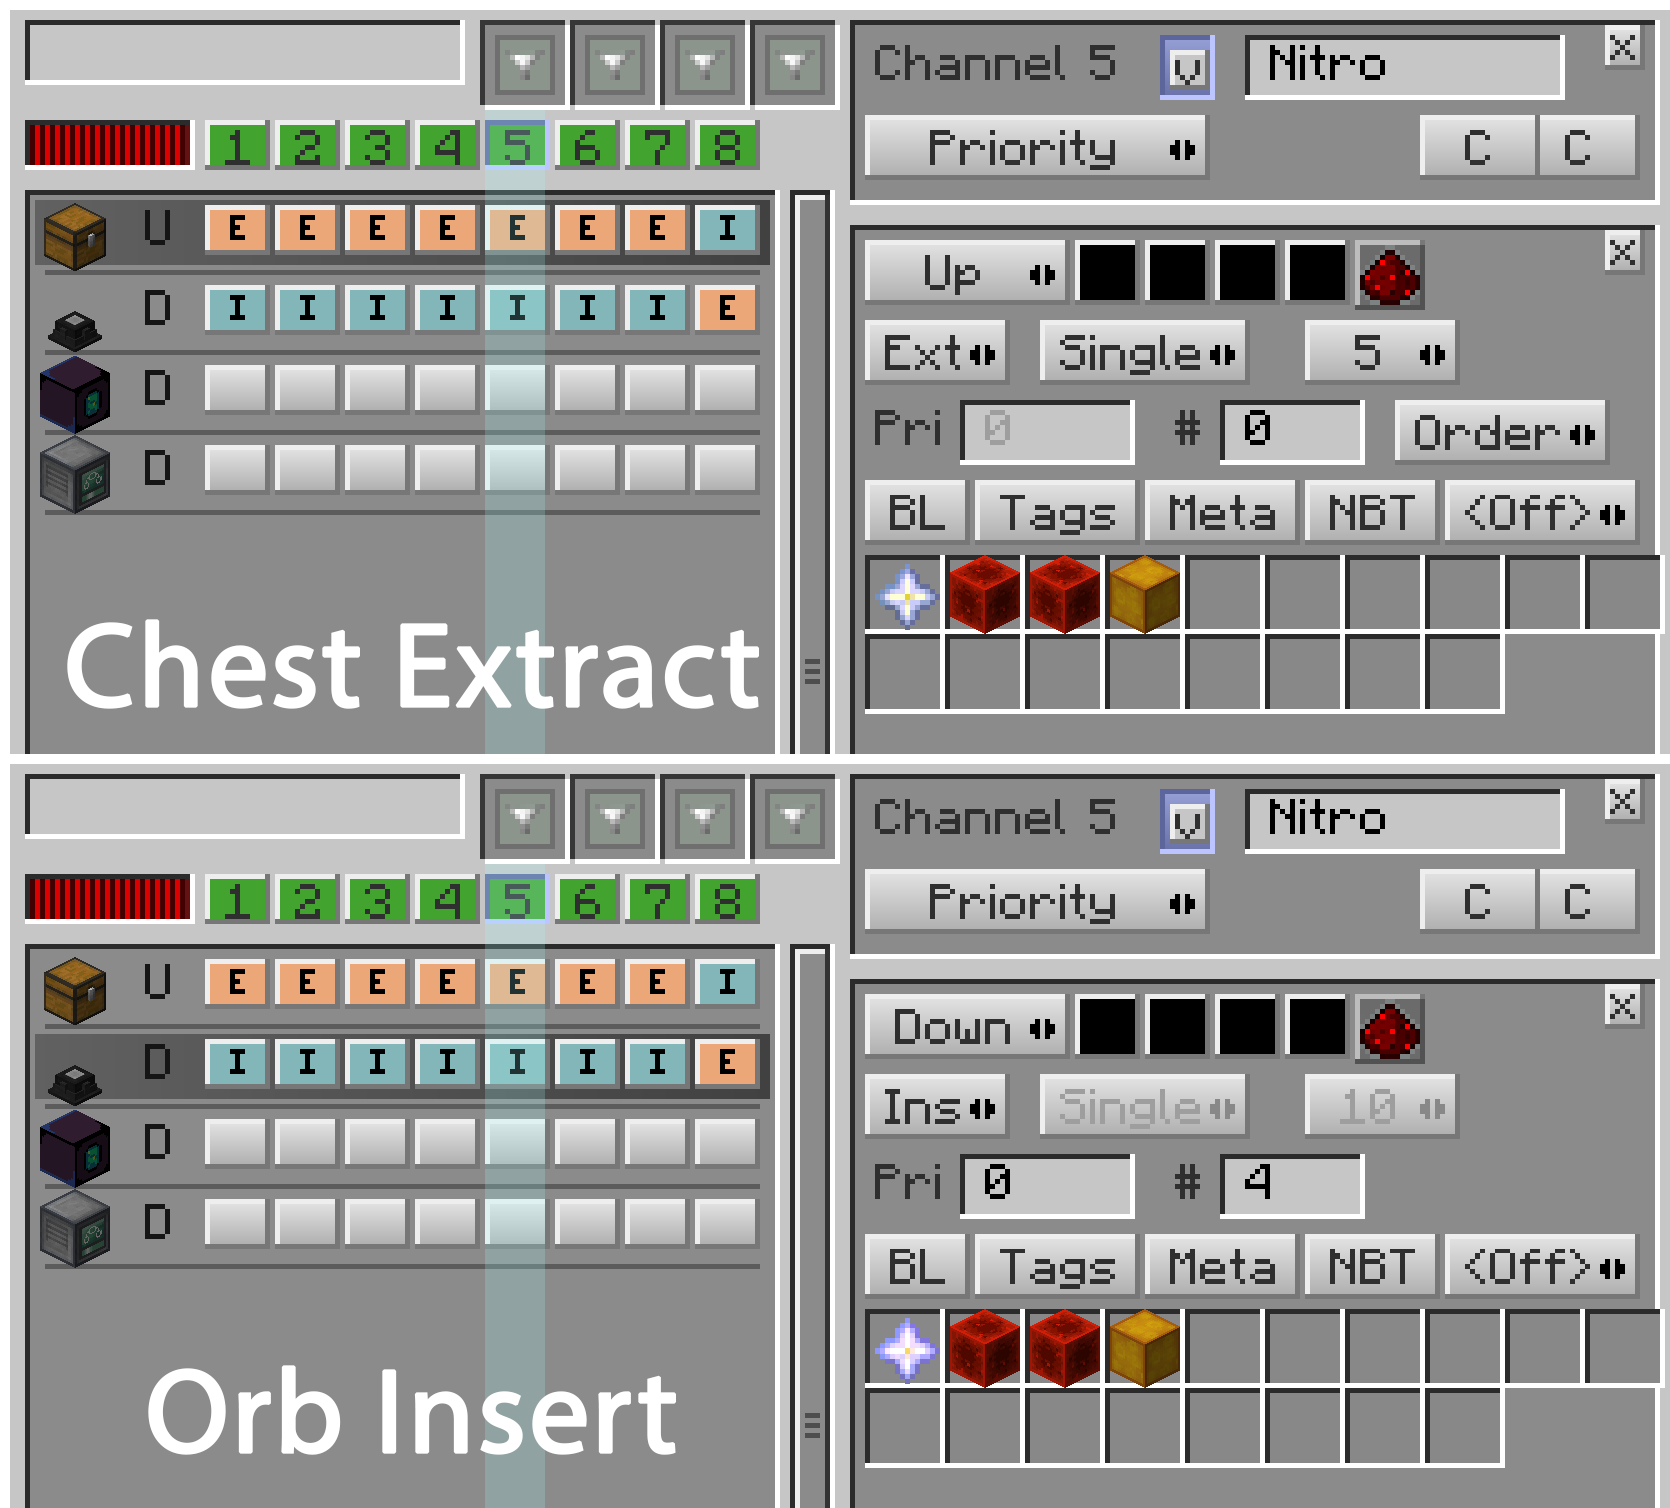
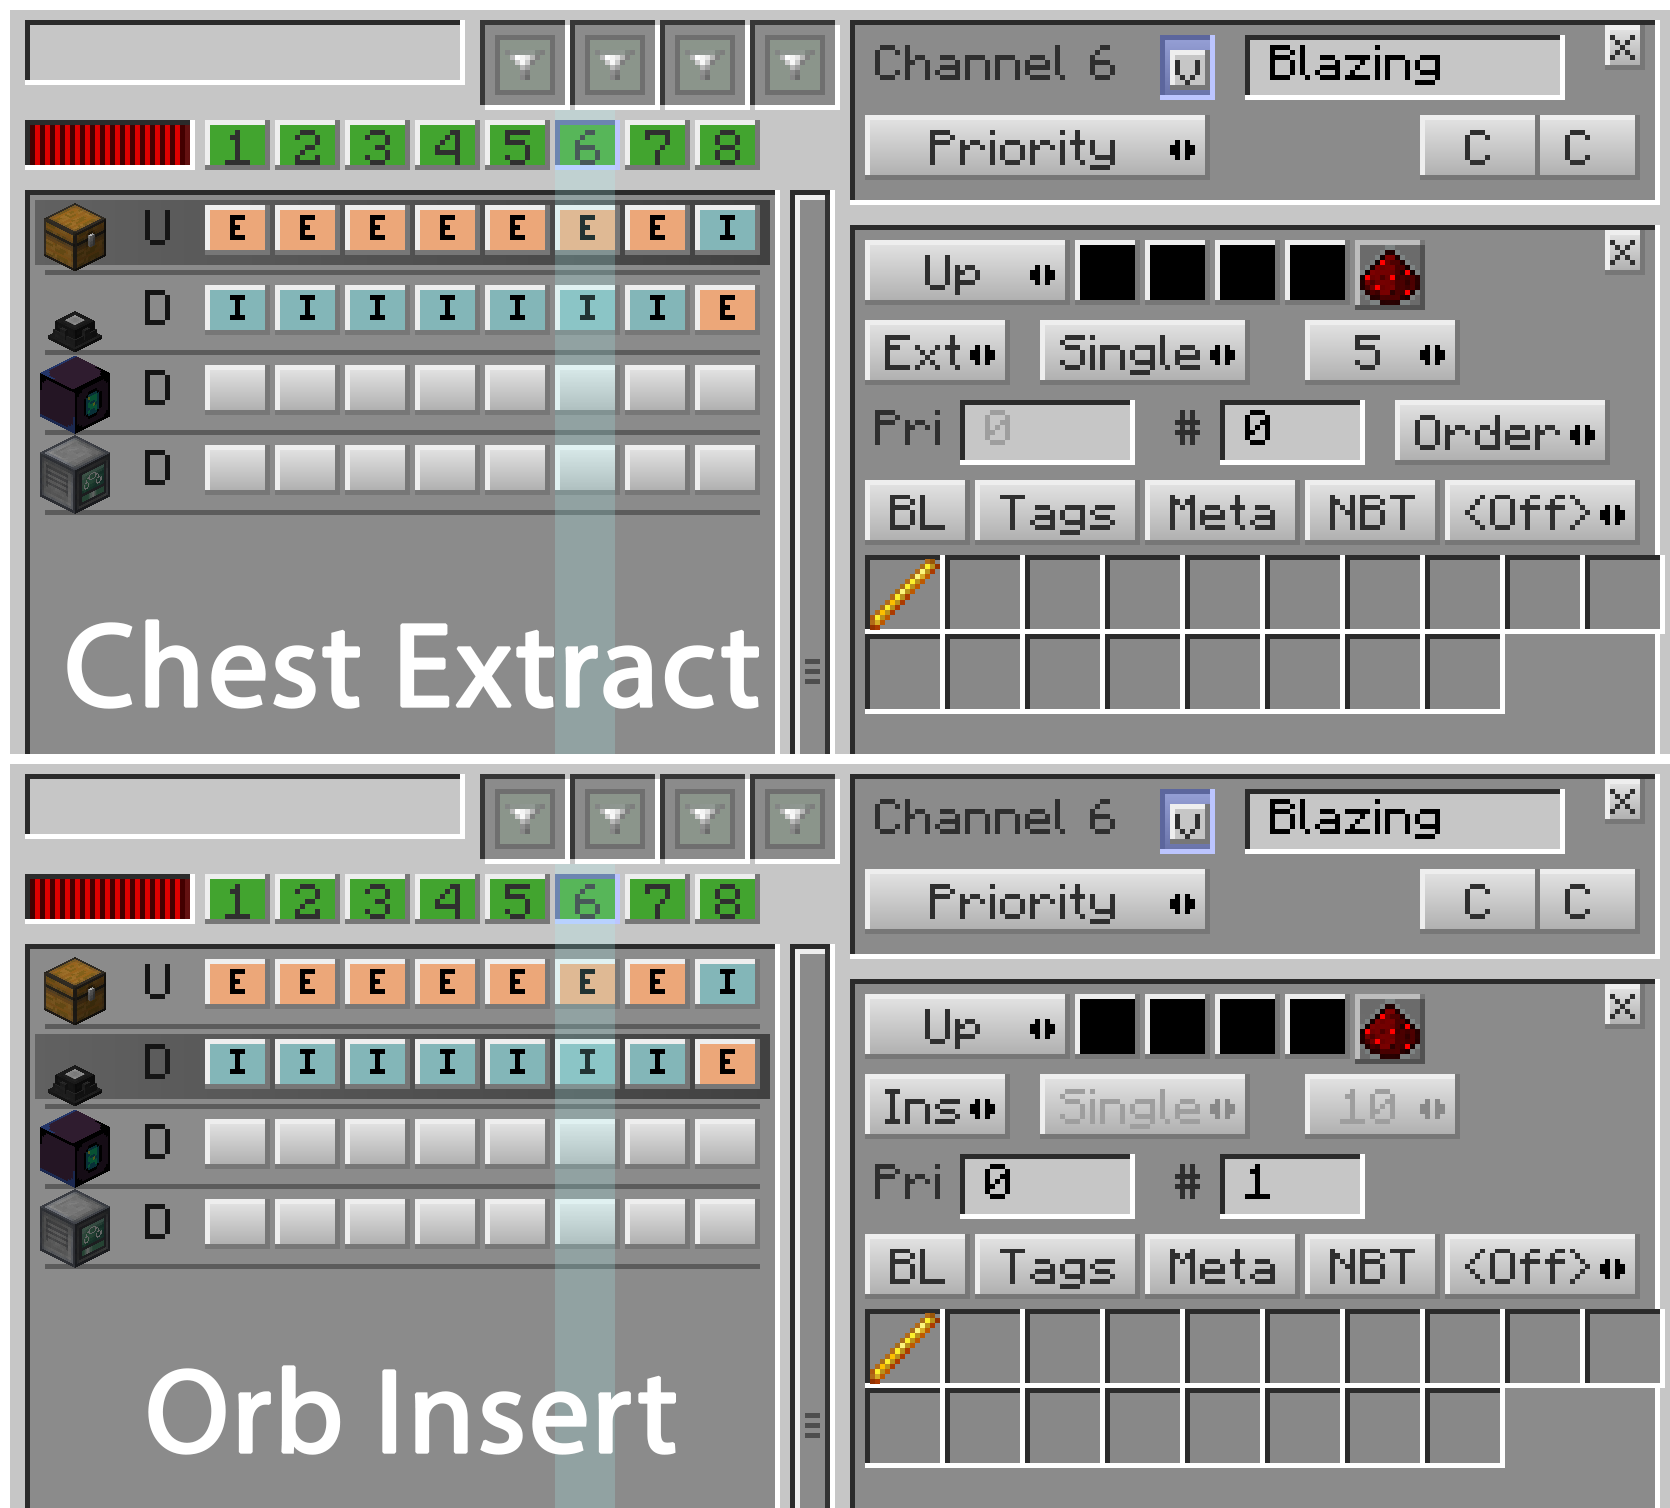
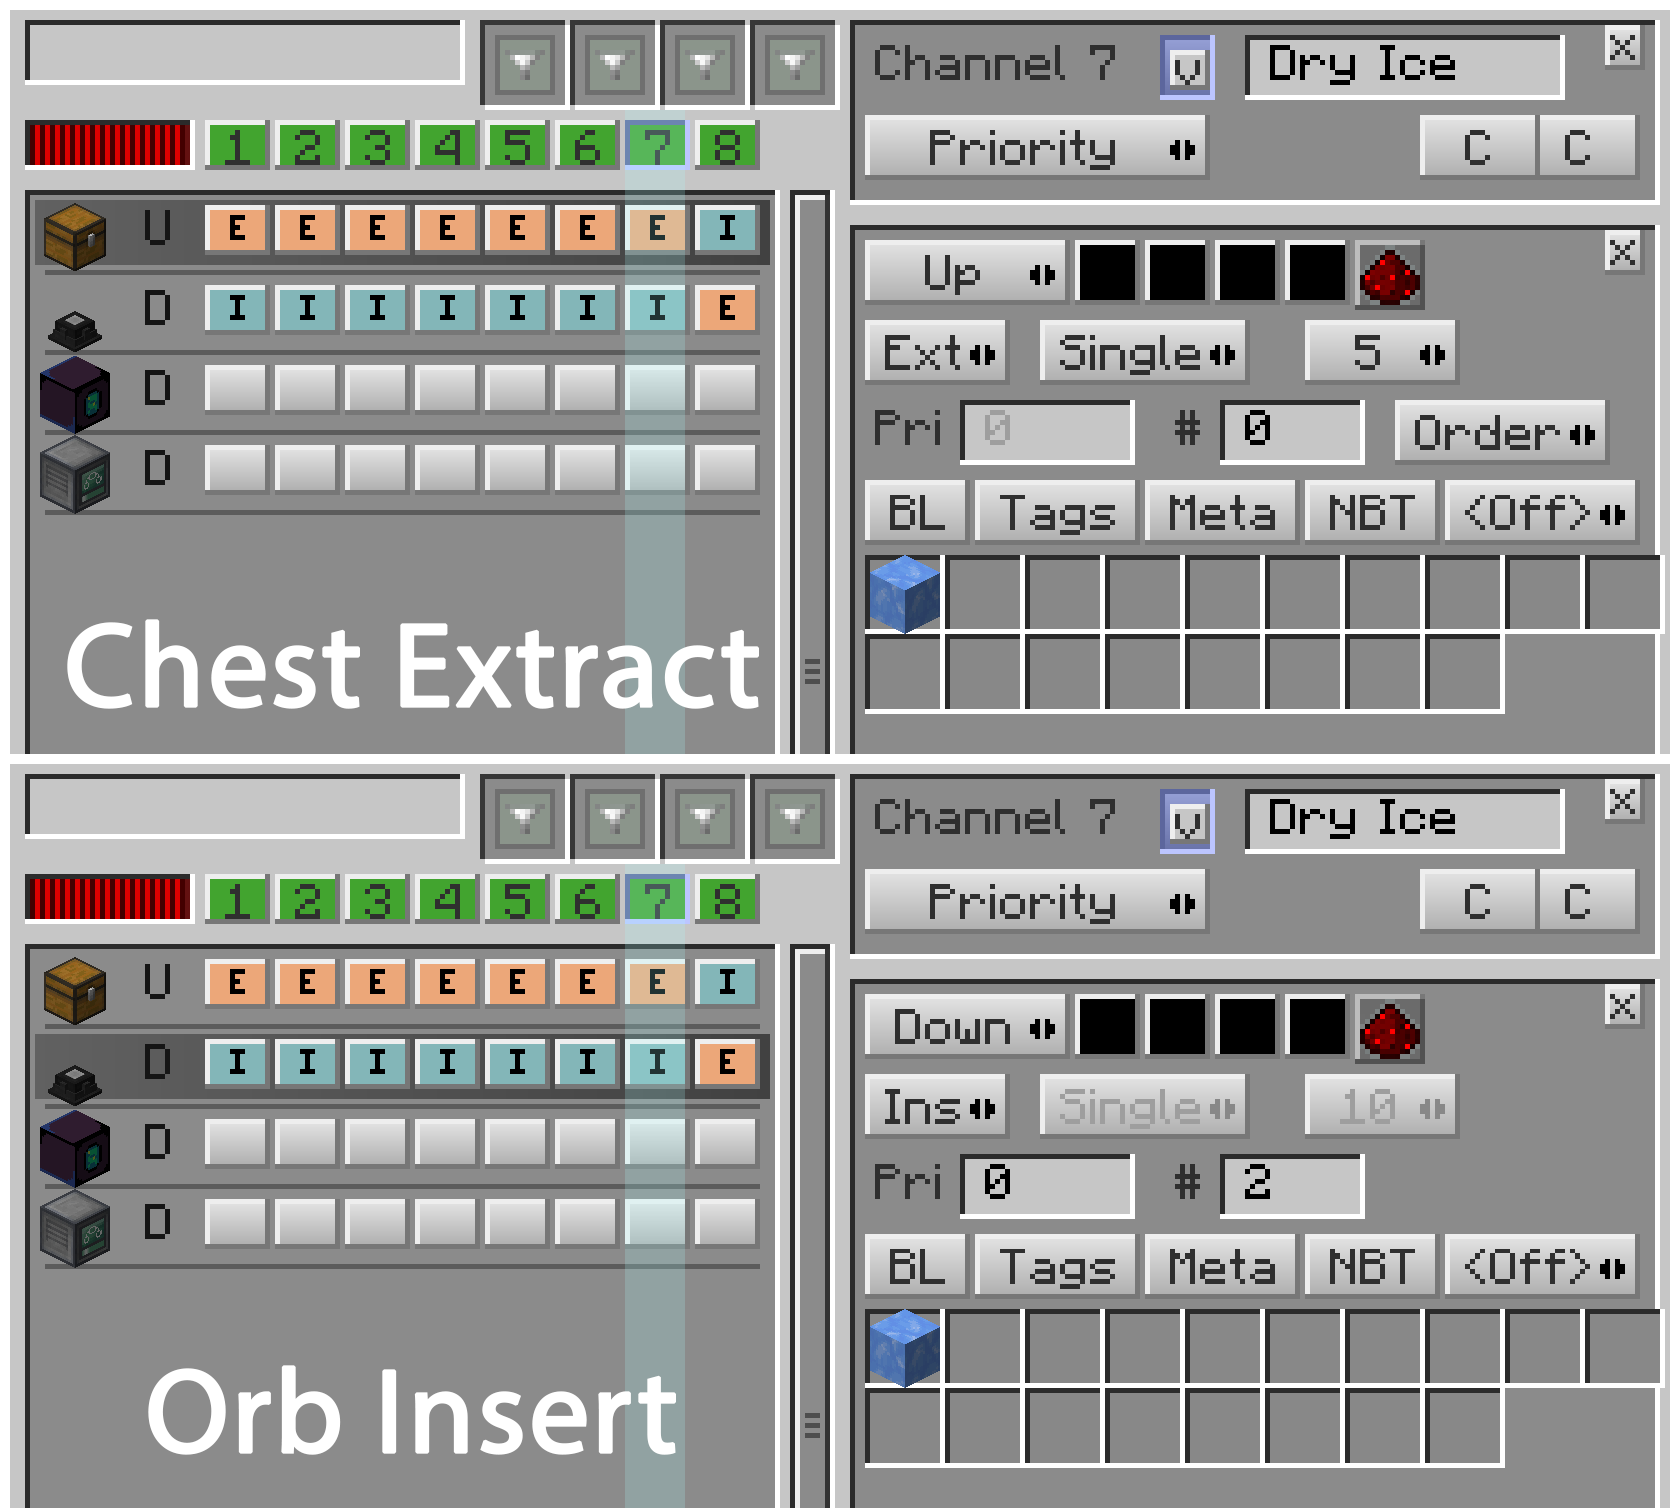
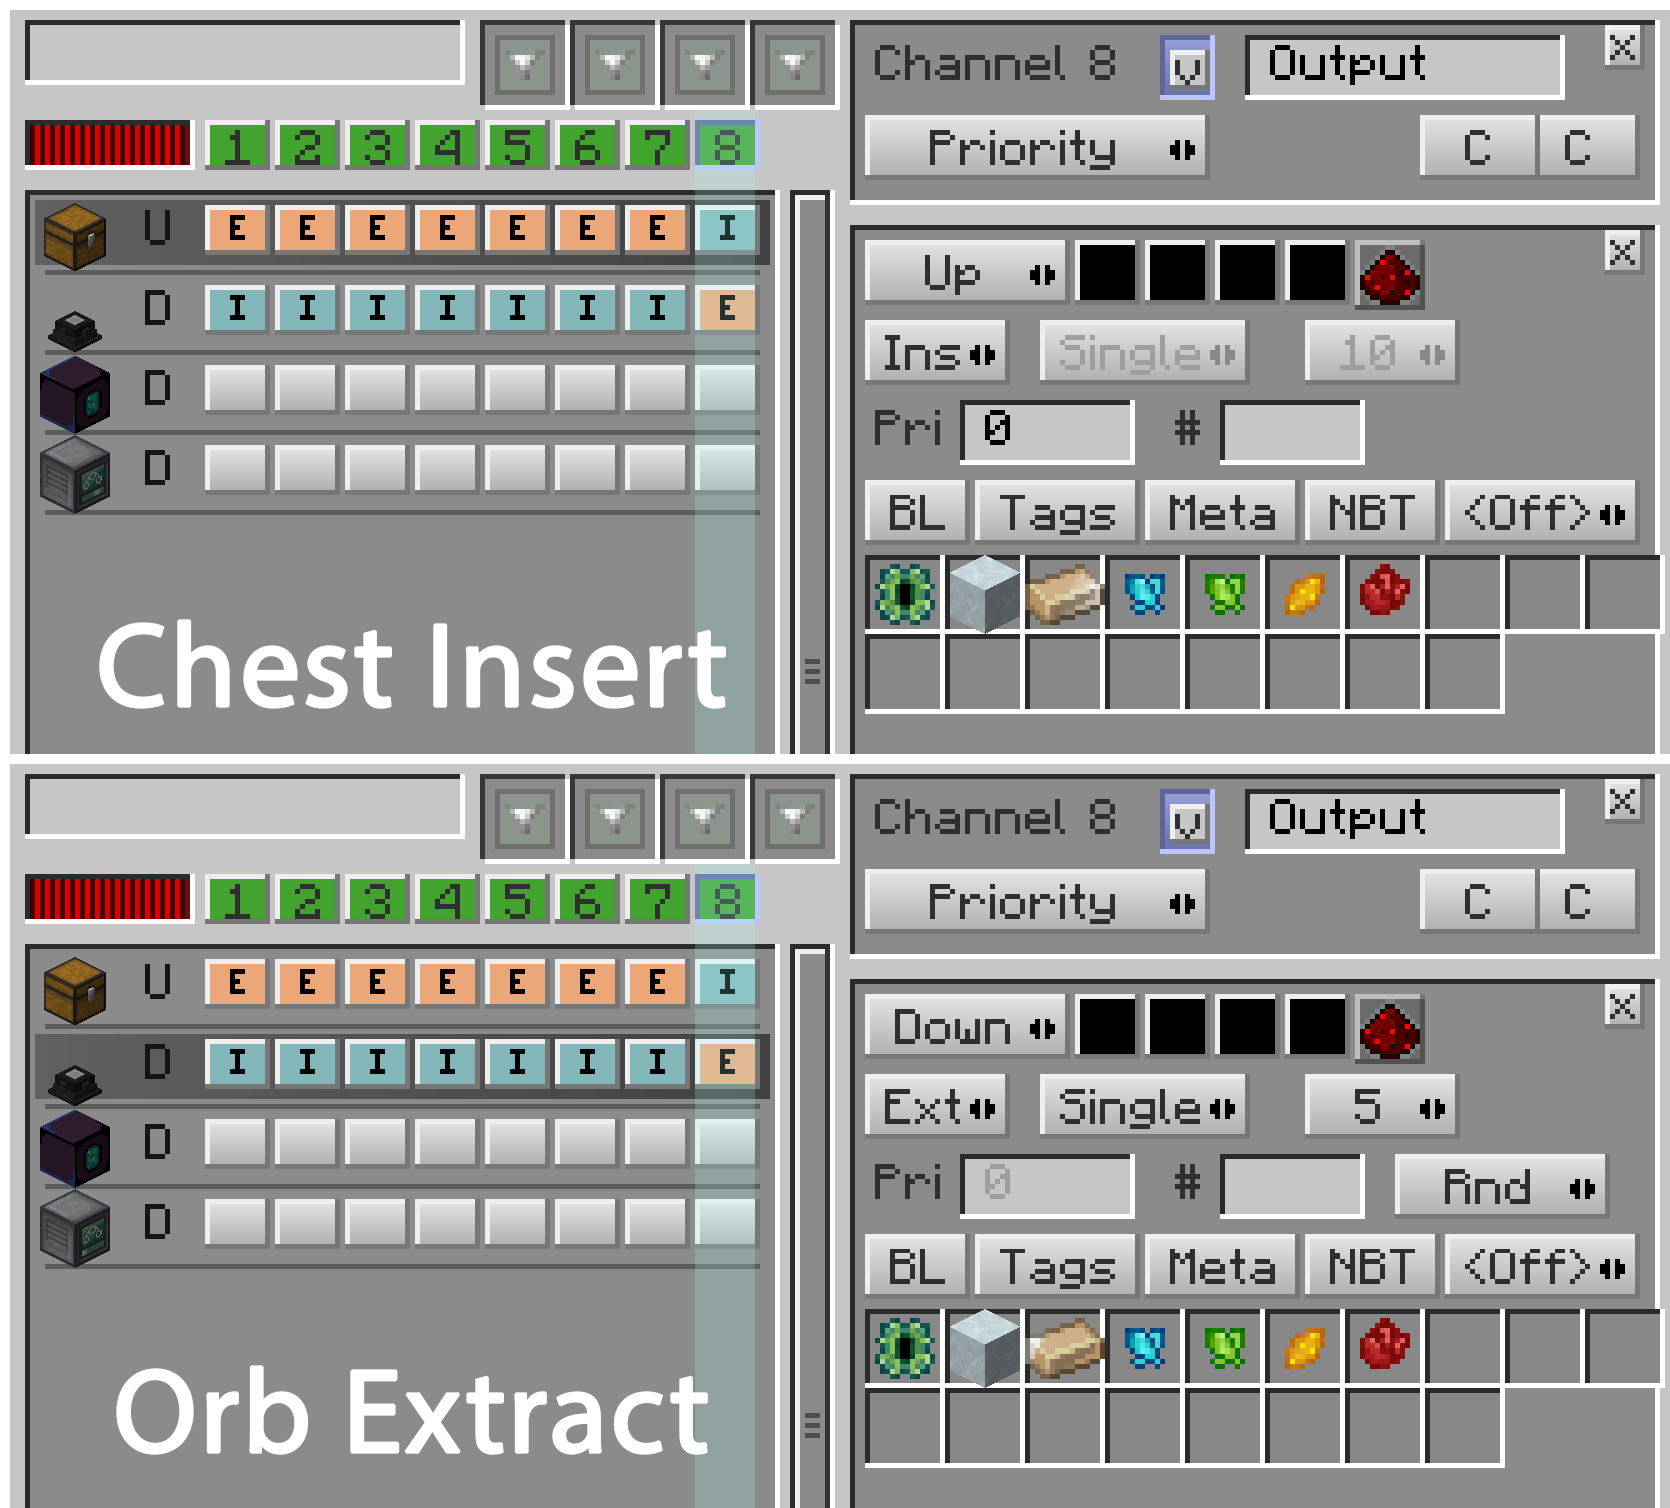
Refined Storage
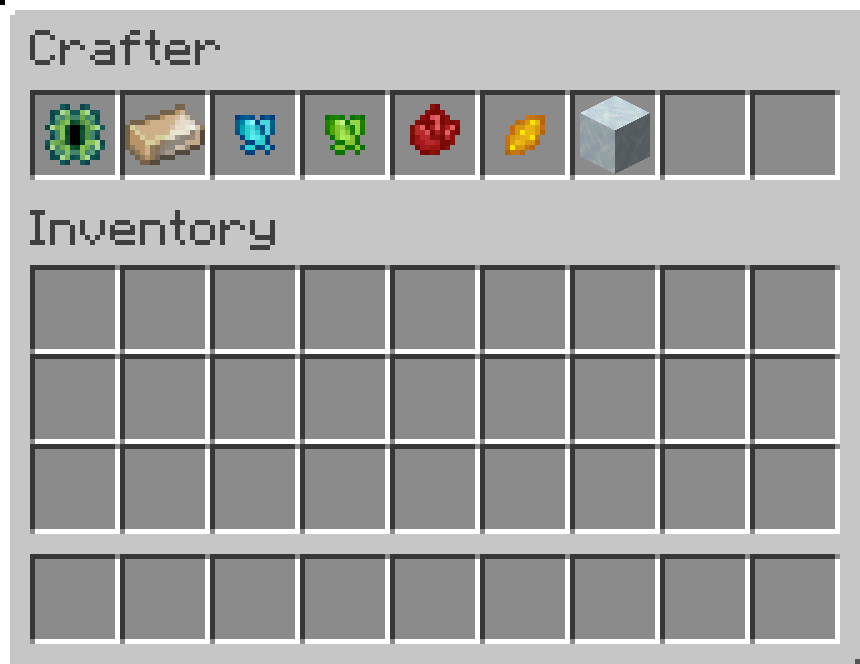
If you want to connect this system to your Refined Storage system, make patterns for it and put a crafter behind the chest. Put an importer in front of the chest. This way the Advanced cables goes to the top or bottom, it is your choice.
Put the patterns inside the crafter, and do not forget to whitelist only the finished items from the chest.
Download PSD file for the channel pictures above.
tags: minecraft, modded, tutorial
Tildecraft on steroids
I always loved modded Minecraft. Last year I played so much Modded, I totally forgot what Vanilla feels like. It is so simple, and calming, fewer recipes to remember, the mechanics are polished. It is just good. But after a while I started to feel a bit uncomfortable, so I needed my Modded look while I play on Tildecraft, so I came up with an idea. What if I load only the essentials, with the client side only mods? So I did that.
First thing first, you need to download MultiMC to get started. After installing it create a new instance, by clicking the “Add Instance” button on the top left corner. The name can be anything, in my case, I chose “Tildecraft”. Then select the current version which is deployed on the server. How to find out which version is the server on, you may ask?
Log in with your account on mc.tildeverse.org and type in the chat /version, you will see the Minecraft version. The time of this article written, the version is 1.16.4.
Okay so now you know the version, select it from the list. After that you have to edit the newly created instance in you MultiMC app. Click on the icon, and there is a list will appear on your right. Select “Edit Instance”, in the new windows select “Install Forge” from the right sidebar. You can check out here which one is the stable version and from the list, what is the recent version. Usually the latest version is good, in this case 35.1.37.
After that you need to add the mods. Keep in mind, only client sided mods are acceptable in this case, because the server runs on Vanilla version, not modded version! I selected a few Quality of Life improvements from CurseForge. These are my choices:
- Just Enough Items (JEI) by mezz
- JEI Integration by SnowShock35
- Just Enough Resources (JER) by way2muchnoise
- Mouse Tweaks by YaLTeR
- AppleSkin by squeek502
- Neat by Vazkii
- OptiFine
- Light Overlay by shedaniel
- Dependencies:
- Cloth Config API (Forge) by shedaniel
- Architectury API (Forge) by shedaniel
- Enchantment Descriptions by DarkhaxDev
- Dependencies:
- Bookshelf by DarkhaxDev
- Xaero’s Minimap by xaero96
- Xaero’s World Map by xaero96
After you downloaded your selected mods, you need to add it to your instance, by clicking “Edit Instance” -> Loader mods (left sidebar) -> Add button (right sidebar).
That’s it, have fun!
Minecraft Potions - Effect Guide
I found this handy Minecraft Potion Effect Guide on reddit. I like these infographics.
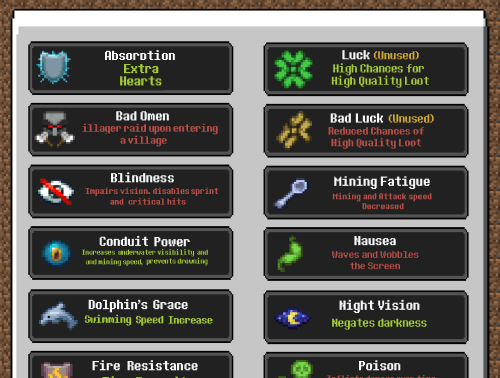
Source: reddit
tags: minecraft